

Guide
Tie-down upgrades for relocated homes
For owners and owner builders of relocated homes: what the load path is, and why each connection needs one suitable fixing, not several.
Who this guide is for
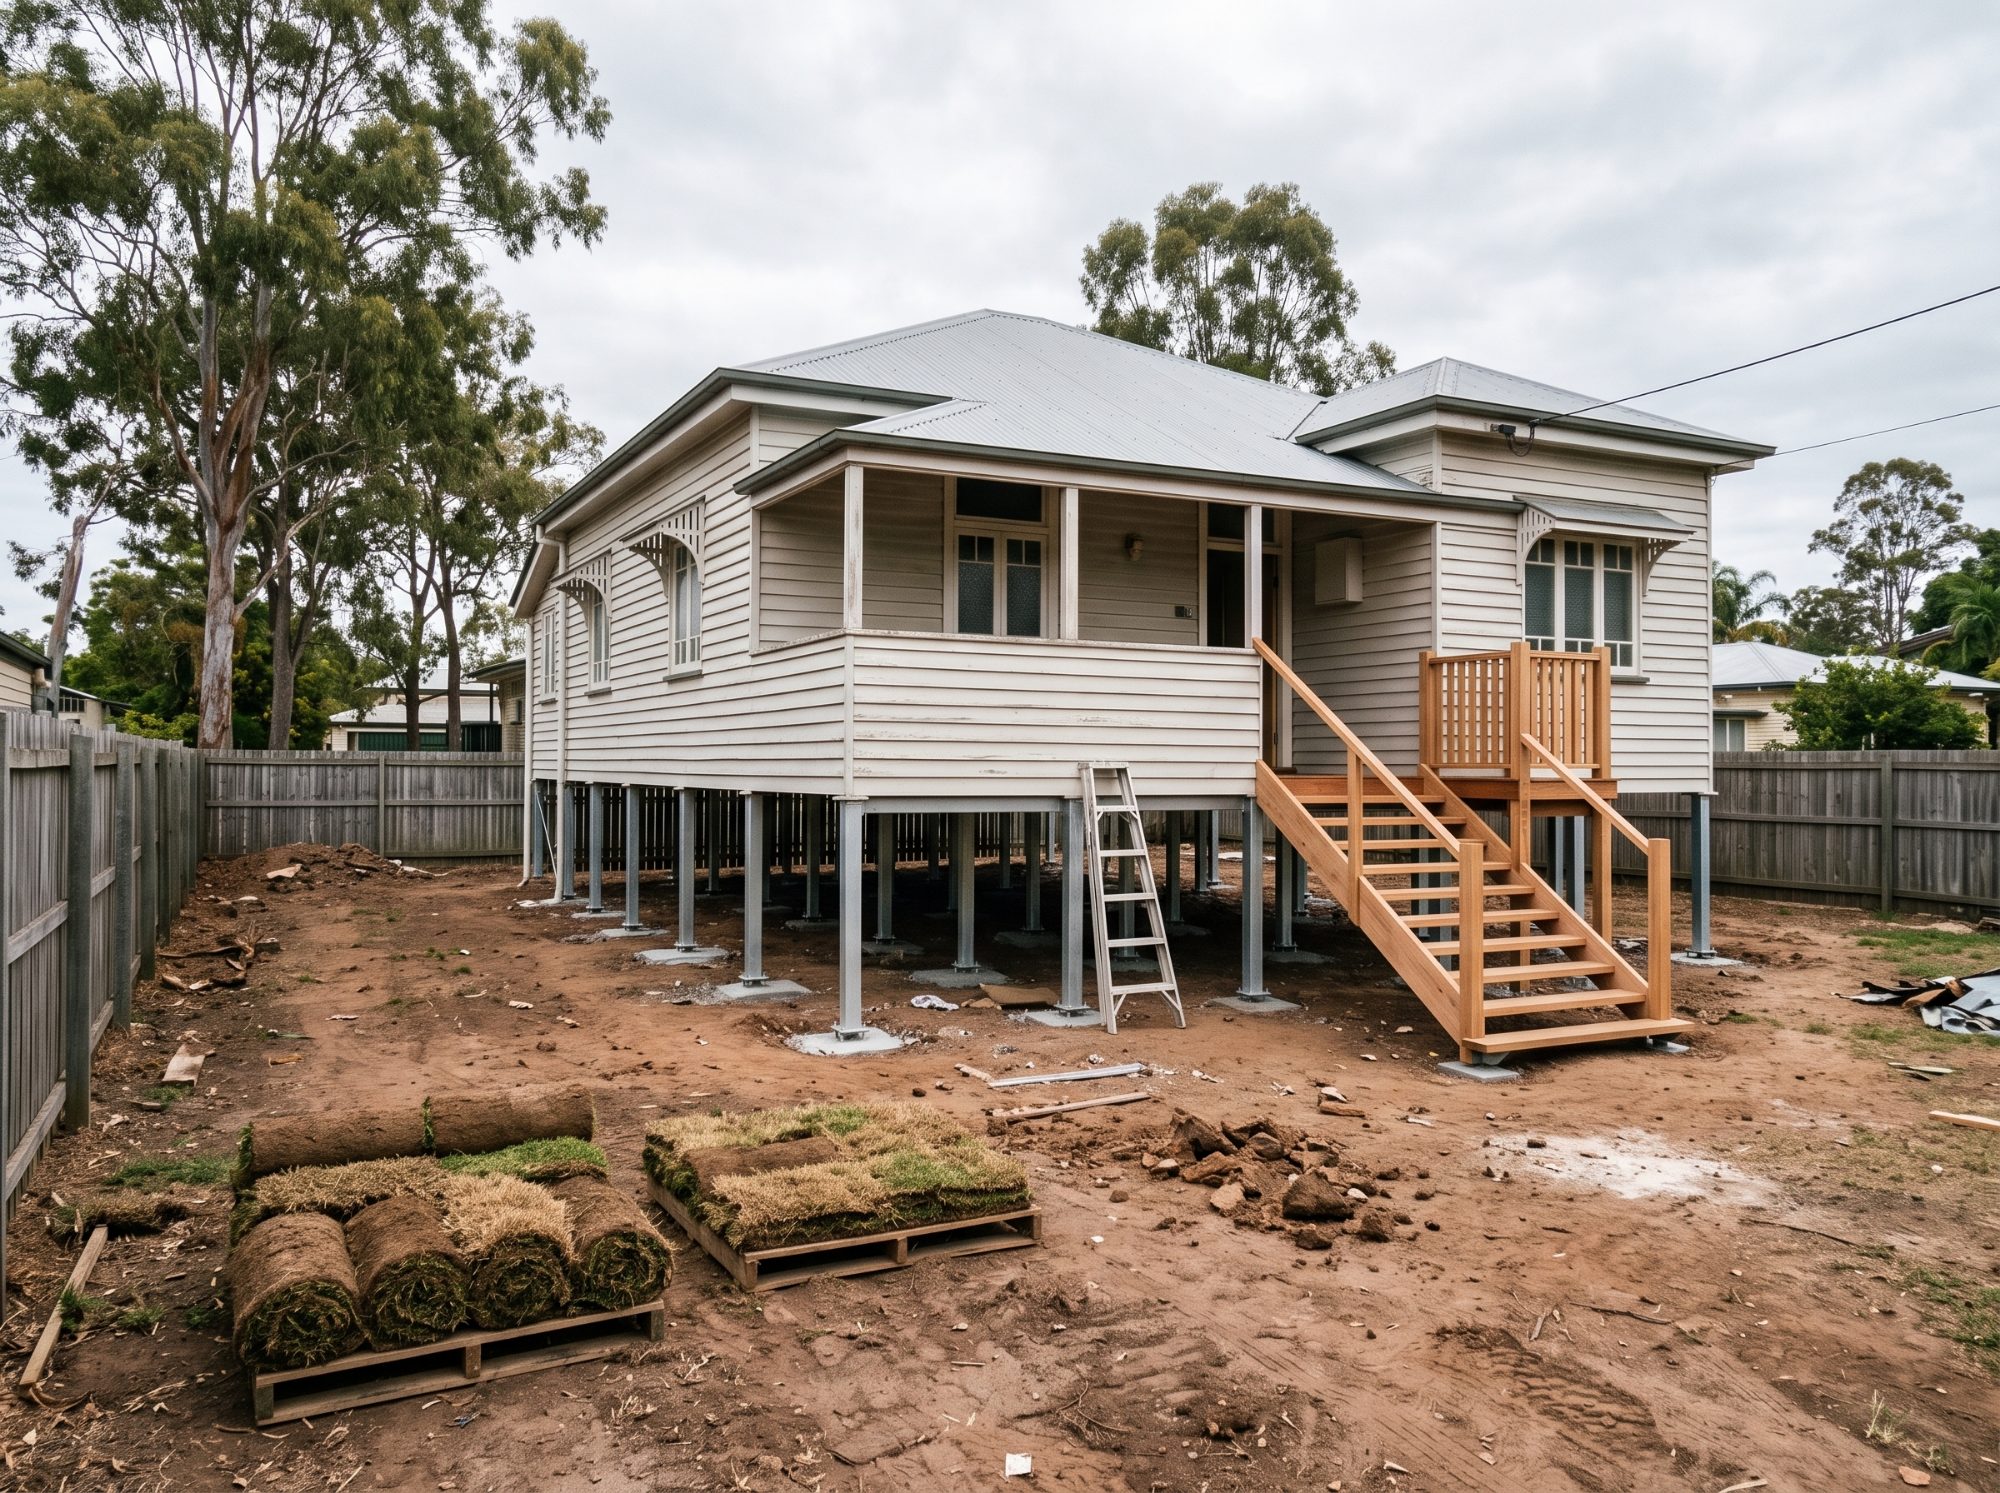
You’ve bought a relocated home, and its approval requires a tie-down upgrade. You might be doing the work as an owner builder or have engaged a builder. Either way, this guide explains what the engineering drawings are asking for. House relocators work with these details every day; this guide is for everyone else.
What tie-down does
Wind doesn’t just push a house sideways. It also lifts the roof. To hold the roof down, every part of the structure has to be fixed to the part below it, from the roof battens to the footings. That unbroken chain is the load path. A tie-down upgrade checks every link in it and adds a fixing wherever one is missing.
The chain is only as strong as its weakest link. A roof tied to the walls achieves nothing if the walls aren’t tied to the floor.
The load path, roof to ground
This is our preferred general load path. The WE numbers refer to the details on your Tie-Down Upgrades sheets, and the Tie-Down Upgrade Schedule on your drawings confirms which apply to your house.
- Batten to rafter: WE 7-1
- Rafter to rafter at the ridge: WE 6-1 or WE 6-2
- Rafter and ridgeboard to walls, strutting beams and ceiling joists: WE 5-1 and WE 5-3
- Top plate to stud, and stud to bearer or bottom plate: one of WE 3-3, WE 4-1 or WE 4-3
- Bottom plate and floor joist to bearer: covered by the wall connection above, which ties the frame straight down to the bearer
- Bearer to column or post: WE 2-3
- Column or post to footing: WE 1-1
The rule most people get wrong: one detail per connection
The sheets show several details for most connections because houses are framed differently. You install one: the one that suits your house, repeated along that element. You don’t tie the floor joists down twice with two different methods.
Which detail suits depends on:
- How the floor joists and bearers are laid out
- The type of wall lining inside and cladding outside
- Whether any cladding or linings are coming off during the work
Choosing the least invasive option
If the cladding and linings are staying on, use straps and the details in the Tie-Down Upgrade Schedule. These are designed to be installed without stripping the house.
If the cladding or linings are coming off, install full-height M12 threaded rods from the top plate to the bearer, as in modern construction: at every corner, next to openings, and at 1200 mm maximum centres (typically). The rods replace the separate wall connections. The roof and subfloor connections are still needed.
Why relocated homes need care
A relocated home comes with unknown existing fixings. Some connections will be fine, some will be missing, and you often won’t know which until the roof space, wall frame or subfloor is opened up. That’s why the details are typical and mix and match: pick the one that fits what you find.
Your drawings come first
The details are typical and suit most high-wind (non-cyclonic) sites. On cyclonic sites, your drawings specify exactly which upgrades are required. Where your drawings and this guide differ, follow the drawings.
Inspection
Once every link from batten to footing is installed, book your inspection and leave the connections exposed until it’s done. At the inspection we’ll point out anything outstanding and give you a clear path to resolve it. Minor items can be checked by video review for a small fee. If major elements are outstanding, we’ll need to re-inspect on site.
Common questions
Frequently asked
Do I need to install every detail on the tie-down sheets?
No. Each connection has several details because houses are framed differently. Install one suitable detail per connection and repeat it along that element. Installing two different details at the same connection doesn’t add anything.
Can different parts of the house use different details?
Yes. The details are mix and match: each connection is chosen on its own. For example, the ridge can use WE 6-1 while the walls use WE 4-3.
The cladding is coming off. What changes?
With the wall frame exposed, full-height M12 threaded rods from top plate to bearer are usually the simplest option, like modern construction: at every corner, next to openings and typically at 1200 mm maximum centres. The rods tie the whole wall down in one go, so you don’t also need the separate wall details. The roof and subfloor connections are still required.
What if I find something that doesn’t match the details?
Relocated homes often hide old or missing fixings. Email photos of the connection with your job number to info@walkereng.com.au before improvising a fix.
What happens if something is incomplete at inspection?
We’ll give you a clear list of what’s outstanding and how to fix it. Minor items can be checked by video review for a small fee. If major elements are outstanding, we’ll need to re-inspect on site.
Read next
Related pages
Ready for your tie-down inspection?
Book it once every connection is installed, and keep them exposed until we’ve inspected.